🖨️ Building a Plastic Injection Machine

Building the Buster Beagle Plastic Injection Machine
This post is about how I ended up building a plastic injection machine in my basement.
📝 The Beginning: 3D Resin Printing
How this came about stems from my time printing with flexible resin that I went into here - 3D Printing with Flexible Resin. In short, I was unsatisfied with flexible resin and wanted to use TPU but didn't want to go the FDM printer route.
🛠️ The Idea: Building a Plastic Injection Machine
I started looking into the feasibility of getting my own plastic injection machine. There's a couple "desktop" injection machines and some cheap manual ones you can buy off the shelf but they're all in the thousands of dollars. I wasn't willing to spend that much so I sat on the idea for a little.
🎥 Inspiration: Buster Beagle's Plastic Injection Machine
I came across Buster Beagle's Plastic Injection Machine on YouTube. Where he designed and built his own plastic injection machine for around $400 dollars. All the parts are listed in the video and can be found online or on Buster Beagle's own website.
🔧 Assembly and Tuning
Assembly was easy, just a little time tedious with all the wiring. Once I got it all together my machine would overshoot the temperature setting pretty drastically, getting way hotter than I needed it too. I had to put the PID controller into a tune mode several times before it stopped overshooting. To get the PID controller into this mode there are instructions that come with it on how to do this if you have to yourself.

🎨 Creating Molds with Siraya Tech Sculpt
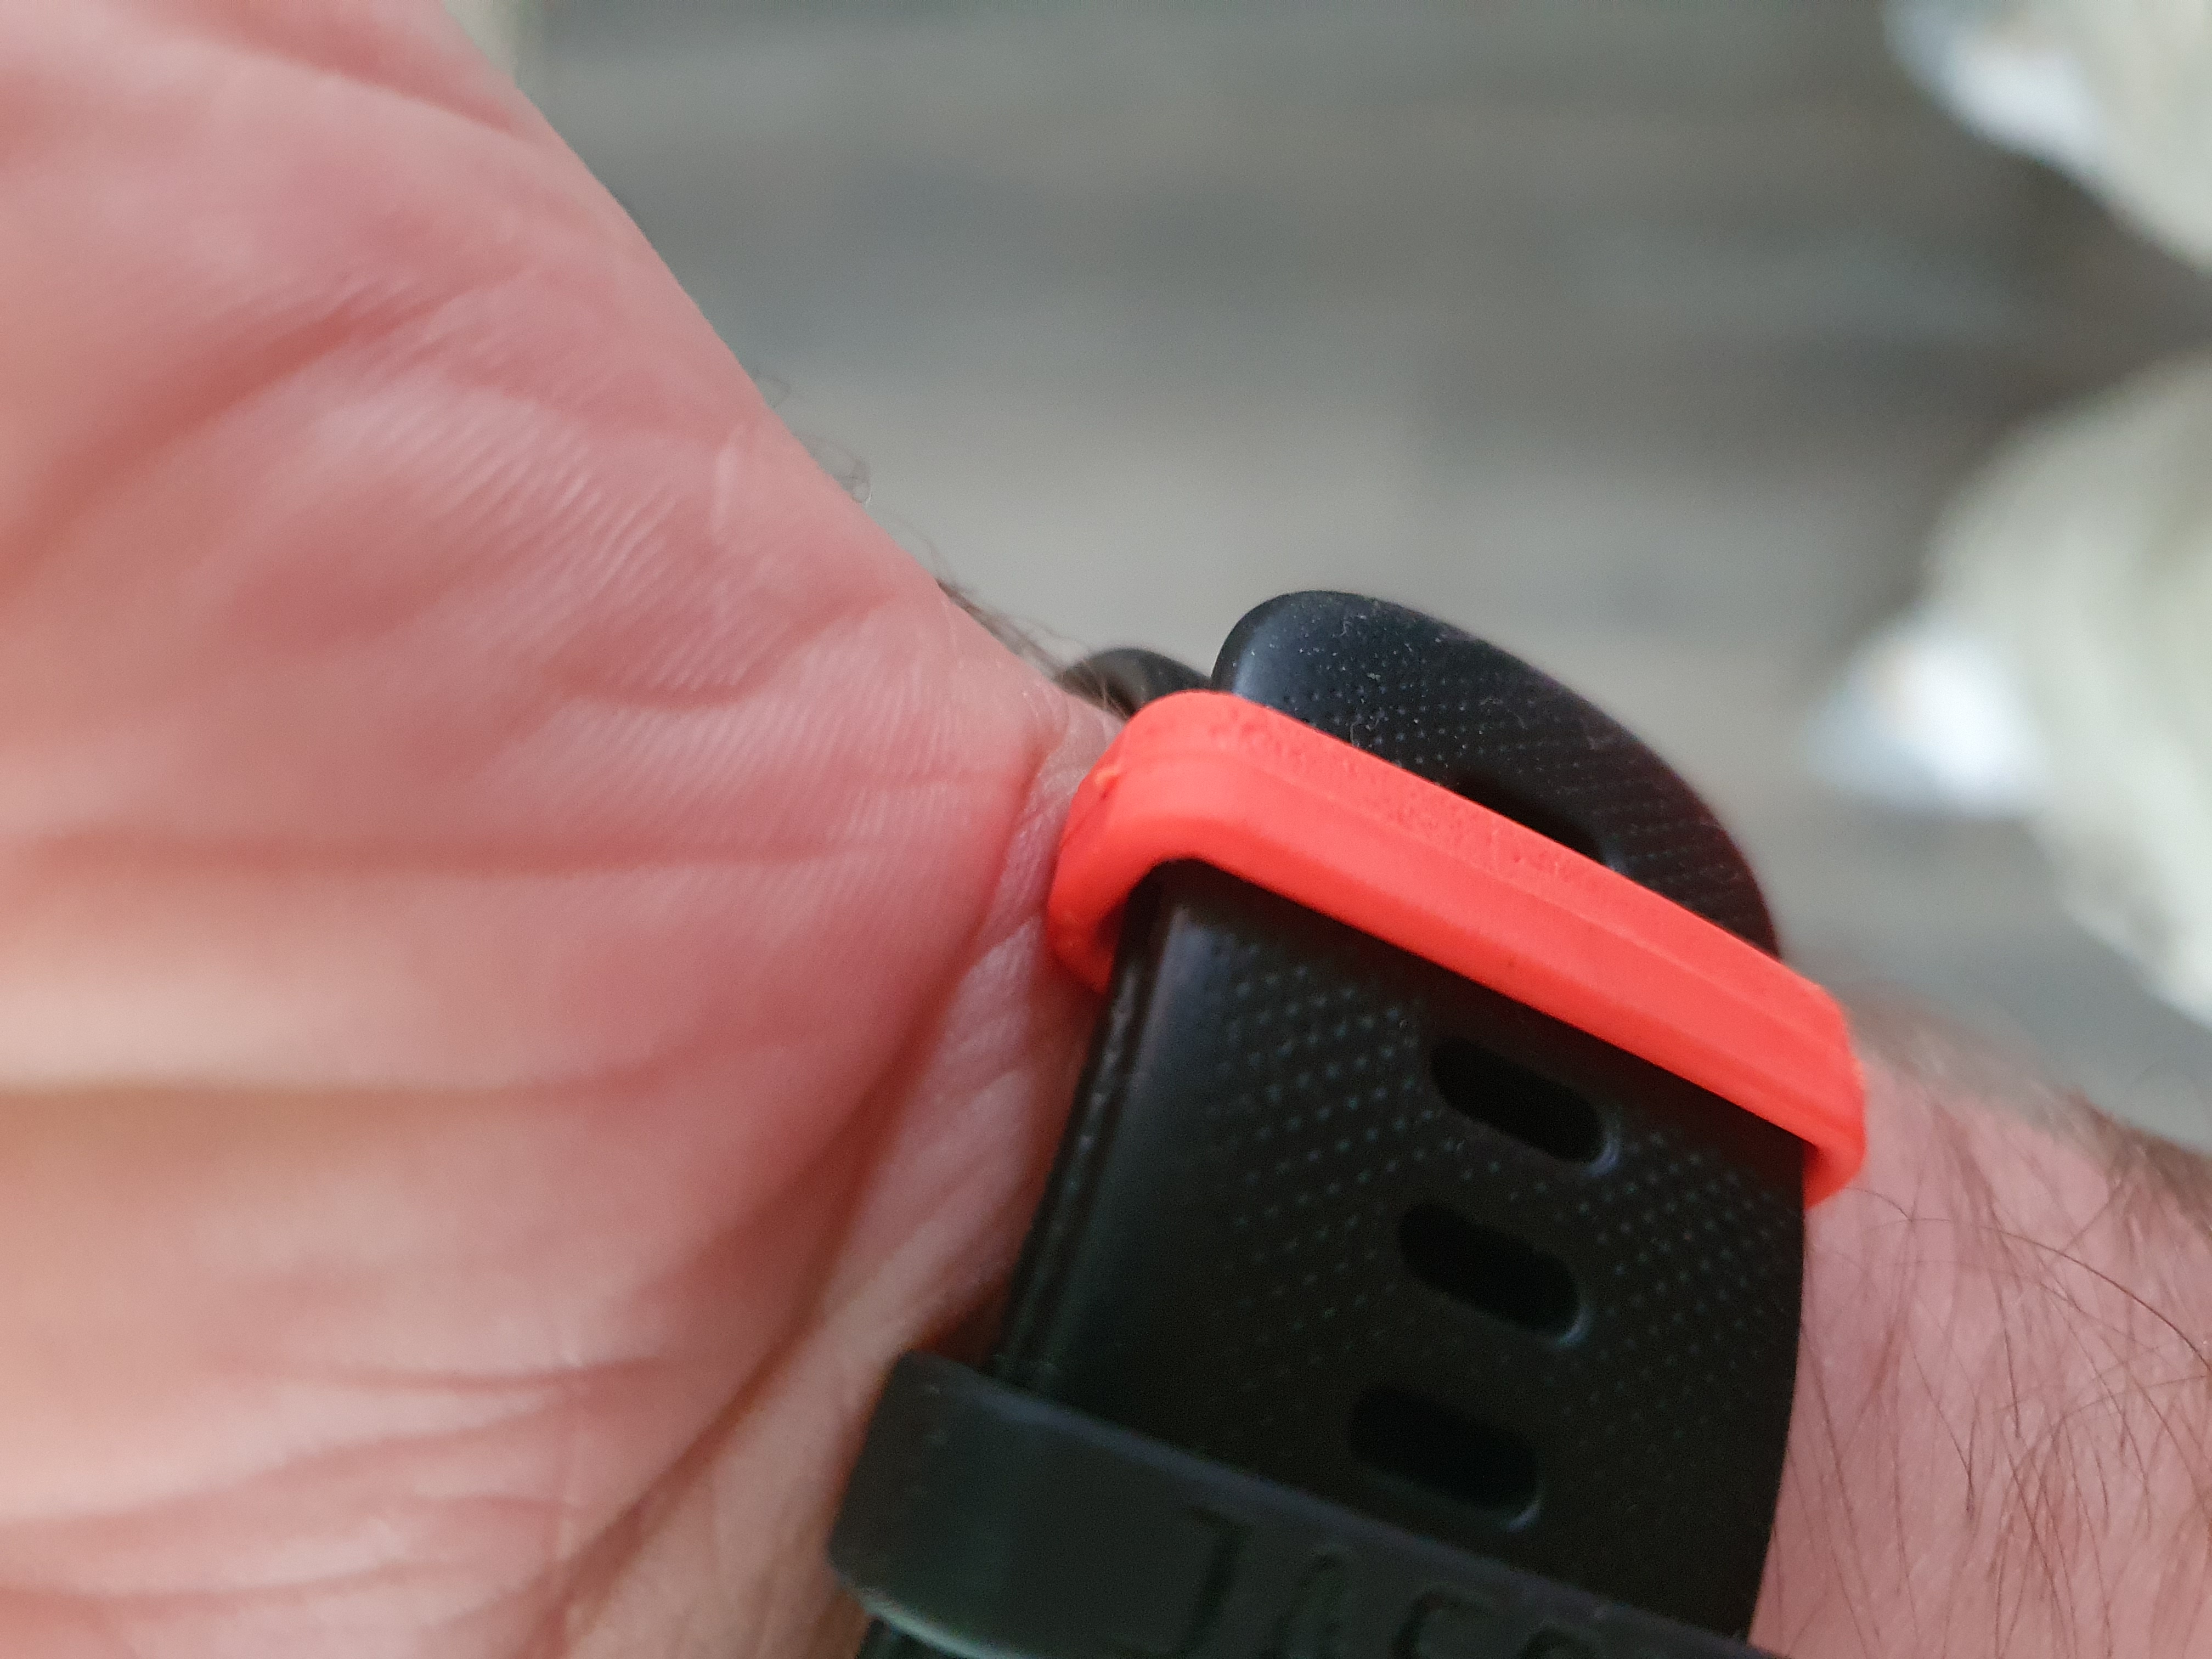
I had bought Buster Beagle's mold inserts for the machine so that I could resin print molds instead of CNC machining them. I used Siraya Tech Sculpt resin to make the molds. I wanted something simple to print a mold for so I chose these Garmin Watch band keepers that I had designed. I'd say the molds for them took about 1/3 the 1kg bottle of resin. Also the molds needed a bit of wet sanding after they were printed to get a smooth finish.
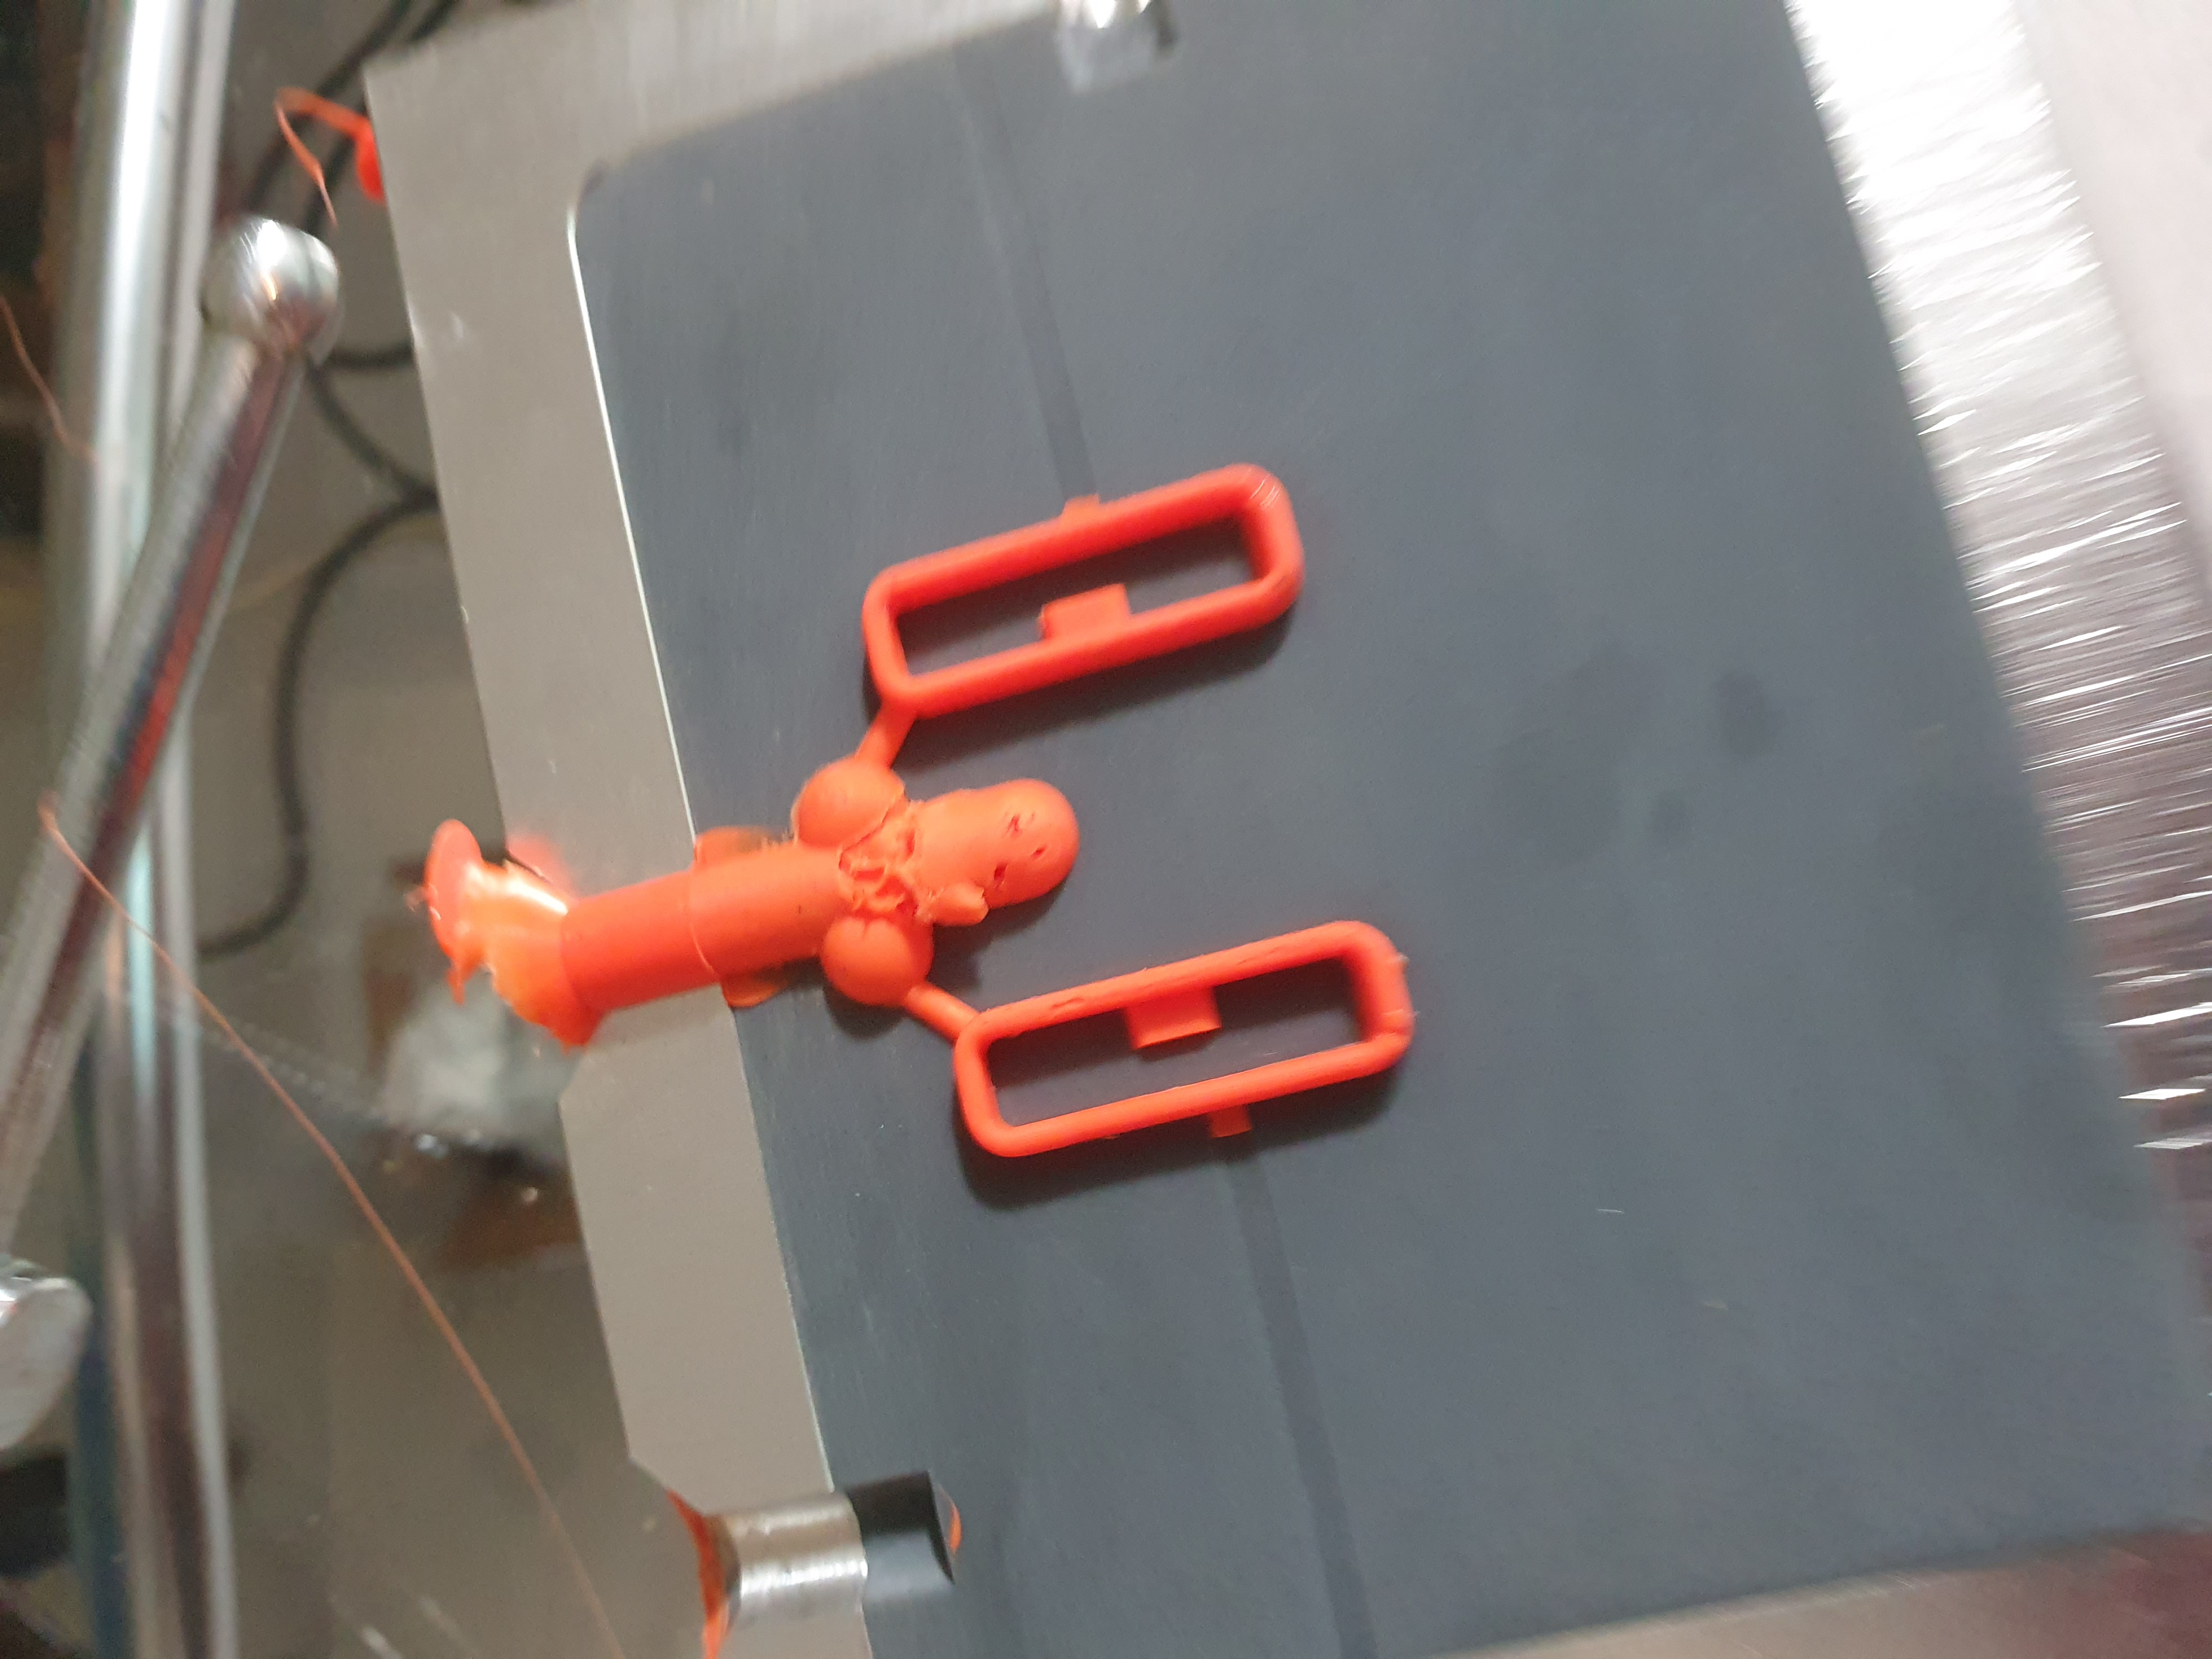
🧪 Experimenting with TPU and TPE Filaments
Finding TPU plastic pellets was kind of hard, a lot of places sell some variants of flexible plastic like TPE. So I first just found some TPU filament off Amazon, put on a movie and started cutting it up myself. My first mold went well, it could use some improvements with air channels and such but it worked. I found the TPU filament to be a little too hard for what I wanted. I next tried cutting up and injecting some TPE filament off Amazon as well. It worked much better, the finish piece was more soft and flexible.
📈 Next Steps: Injecting an FPV Camera Mount
The next thing I want to inject is a FPV camera mount I designed. But being it has a lot of holes and hollow points, it's pretty difficult to design a mold for it. You don't want to have the piece get trapped in the mold and you have to cut it out, plus each resin printed mold takes a lot of resin. Look out for a post on that in the future.